The Beauty in the Details: Camouflaging Light Switches with Wallpaper
- Lindsey Reis
- Aug 14, 2025
- 2 min read

A room isn’t truly finished until the smallest details have been considered. Paint colors, fabrics, and furniture choices may get the spotlight, but the magic happens in the subtleties—the little moments your eye takes in without even realizing why the space feels so cohesive.
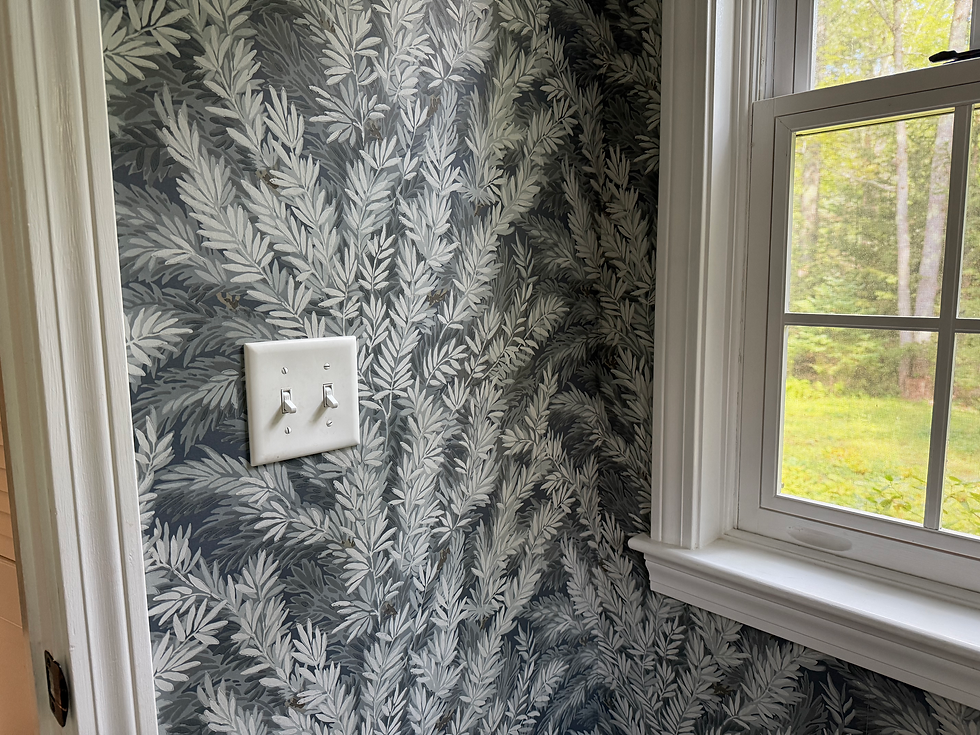
Disguising those glaring white light switch plates that interrupt a beautiful wall treatment. It’s such a small change, but it completely elevates the room’s polish. Recently, I gave a set of switches in a wallpapered room a seamless makeover—and I’ll walk you through exactly how I did it.
Why This Works Light switches are functional, yes—but they rarely add to the visual appeal of a space. When you’re working with patterned wallpaper, those bright plastic rectangles can break up the flow. There are some stunning switch alternatives out there but can certainly break the bank. By covering your existing switches with the same wallpaper, they disappear into the wall, letting the pattern shine and elevating the room with little additional investment.

Steps to transforming your switches:
Step 1: Align the Paper Pattern Depending on the pattern aligning the wall pattern with the switch pattern can be a very important part of this process. Remove the switch plate from the wall and place it directly on a section of wallpaper scrap that aligns exactly with the section on the wall where it lives. Take your time here and know what you can live with. For me, I decided I'd rather have a somewhat "off" pattern than buy a whole new role of paper to make it perfect.

Step 2: Cut the Paper to Size and Clip Corners Once your pattern is perfectly lined up, cut the wallpaper so that it extends about half an inch beyond all sides of the plate. Then, snip the corners at a diagonal. This will make folding and wrapping the edges much cleaner, with no bulky overlap. I used an exacto knife.

Step 3: Glue the Switch Plate to the Paper Use a strong but workable adhesive—I used Gorilla spray adhesive. Apply the glue evenly to the front of the switch plate, press it onto the back of your wallpaper, and smooth out any bubbles. Then, fold the extra edges neatly around to the back side. Cut out an X shape, corner to corner for the openings of the switches, taking care not to nick the wallpaper beyond the edges of the openings. This way you can fold those over for a polished look too.


Step 4: Reinstall and Admire Once dry, reinstall the plate. You’ll be amazed at the transformation: what was once a white, visually intrusive block is now an elegant, almost invisible continuation of the wall.

The Result It’s a subtle update, but the difference is striking. Your eye flows uninterrupted across the wall, taking in the full sweep of the wallpaper pattern without distraction. These are the details that make a room feel intentional and considered—the difference between “nicely decorated” and “beautifully designed.”
Sometimes, the smallest details make the biggest impact. In design, it’s worth paying attention to them.
-Lindsey


Comments